Greetings, medievalists!
Camera is one of the things that some players find jarring. The way it “drops” during the movement is catching some players by surprise and interrupting a slow play that they’ve been enjoying.
This happens because at the moment the camera target (what the camera is looking at) and the camera itself do not go through a certain Unity layer type. At the moment this is only applicable to ground voxels and water. Because of that, the camera drops when hovering over a basement or a hole in the ground and creates irritating jitters in the camera movement.
So how to solve this problem? We checked all of the available options and listed all of the pros and cons for each. Before we tell you what we chose, we want to discuss all the other options as it may give you better insight into game development and challenges that come with choosing a solution for, what may appear as a simple problem.
Solution #1
One solution that sounds the best is to simply add (with some variations) the BuildableSurface layer to the list of layers that the camera can’t go through.
This would solve the basement jumping because BuildableSurface would be used on walls and floors.
But the problem becomes evident when you move the camera through the terrain with a bunch of walls. Notice the constant jumping when encountering walls:
This may not look like a big deal, but keep in mind that one of the first things a player does is set up walls. Having the camera jump around during this process might make the game look broken in the first couple of minutes of gameplay, especially for the players new to the game.
Why not remove walls from the list and keep just the floors in that camera’s list of layers? Well, you would be surprised, but a bunch of players are using walls as floors and even filling holes up with walls (trust us, we check your reports). So if we remove walls from the list, the camera would continue jumping in these areas.
The second problem is tall structures:
This is not as big of a problem, but it could occur from time to time. You may find it irritating when panning around just to jump way up high. But what about holes?
Even with this system implemented, the camera would continue to jump if there is a visible hole.
Solution #2
What if we lock the camera to the layer that is currently visible?

That would mean that the player knows exactly what layer they are working on and the camera does not jump down nor does it jump up (because everything over that layer is hidden).
But the game starts on level 16.0 because the player needs to see the whole map. This means that player’s first encounter with the game would look like this:
The camera is sluggish and zooming in slows it even more. Having the player manually set it to this is ok, but making the camera by default act like this is not user-friendly, especially for the first time players.
Even if the player understands the camera and how it’s moving it’s still a bit strange zooming into the air and having the camera slow down when zoomed in.
We could add a compass-like visual 3d object that appears on the invisible camera target while the camera is being moved. This way the player would understand what the camera is zooming toward and what it’s orbiting around. But then again, it just doesn’t feel nice.
Solution #3
What if we allow for switching between the default (current) camera and the solution #2 with a simple press/click of a button?
That could work. You would start with the default camera and have a nice first time user experience and, when in need, switch to the layered system. Buuuuuut, implementing such a system takes time (hence the lack of videos) and could be perceived as janky.
We understand that the game’s complexity can be overwhelming as is, since we get a lot of reports of players activating heatmap by accident and writing that something broke, or reports that there are black holes in the ground when they scroll through layers. Part of the problem is definitely tutorial clarity, but part of it is concise user experience and that’s why we don’t think this solution is the right one.
Solution #4
How about the introduction of a button that will introduce offset to the camera target (camera’s center)?
Camera would work as it currently does, but by holding a button (let’s say Shift) and scrolling the mouse, it would offset the camera via Z-axis to the point you like.
When offsetting, the new offset height would become the base height of the camera during the current movement (the camera would not jump vertically at all, regardless of the obstructions). Once you stop moving the camera, it would snap back to the ground level beneath it.
This, too, adds an unnecessary layer of complexity to the navigation system, especially for more casual players. And holding one button (especially with your pinky finger) can get tiresome.
Solution #5 – our pick
Are you familiar with the Wile E. Coyote and the Road Runner cartoon? In it, Wile E. Coyote chases Road Runner but fails to catch him. Like, all the time. Usually it would end with Wile E. Coyote frequently floating in air for a few seconds after running off of a cliff. This type of reaction is known as coyote time. What if we add coyote time to our camera? Here us out.
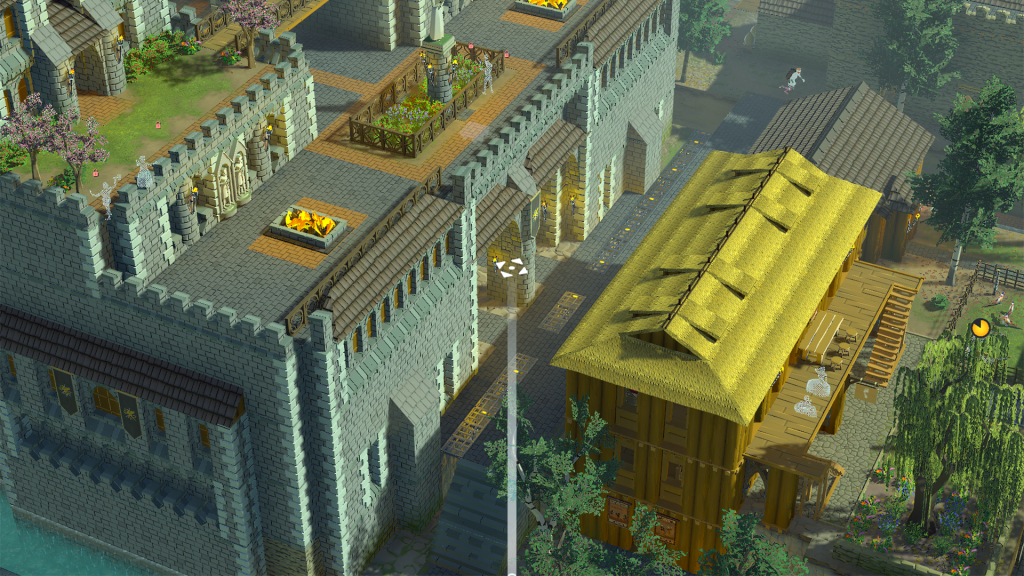
Meaning, once the camera reaches the edge of the current level, it will not drop down instantly but will remain in the air a bit. It will stay 1 second in the air and then it will drop down. During the camera pivot, a few UI visuals will appear that will help you get a better sense of the camera positioning in these cases. These visuals were inspired by the game Castle Story and we really liked their UI solutions when it comes to navigation.
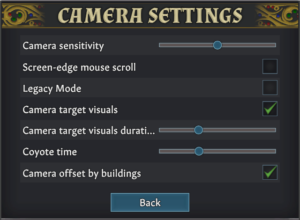
The coyote time duration, along with other camera options, can be changed in-game, at any point, in game’s options.

Honestly, we experimented with this a bit and the team agreed that this might be the best solution. But we need your opinion, too. We want to test this camera and see your reception and if it feels good to you as it does to us. Once we push the update live, we’ll write instructions on how to activate this camera type. Yes, this camera movement will be a feature that you can turn off/on whenever you want. We still think that the present camera system is best suited for beginners, hence why we’d like to keep it. But we do understand that it shows cracks when it comes to more advanced settlements. Hopefully the coyote camera will fix that.
What says you about all this camera science? Are you satisfied with the current camera system? Does the final solution sound good to you? Let us know in the comments and wait for it to go live. Until then…
Stay medieval!

